During my stay, they assigned me one of their secretaries. The first restaurant she took me to was “Carnivore”. Its setting was rustic with outdoor tables in a lush tropical garden. I had exotic game such as camel, crocodile 🐊, impala, wildebeest, etc.
As interesting as it was, I wanted to experience authentic Kenyan food 🥘. The following night, Carmen, my assigned personal secretary, took me to her favorite local spot. I had Nyama, which is grilled beef, alongside mashed potatoes called Irio aka Mukimo!
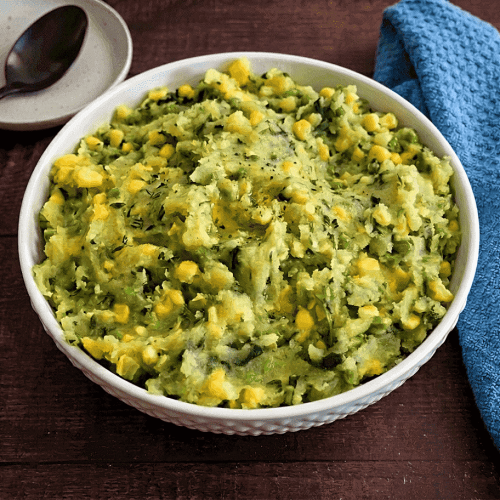
This side dish is so tasty! It’s more than just potatoes; it’s a beautiful mix of vegetables! It has corn kernels 🌽, green peas, and spinach, plus seasonings. It’s a delicious balance of sweetness and hearty flavors. This is a great comfort food that goes well with meat and fish, as well as stews.
My version of Irio aka Mukimo differs from the one I had in Kenya. First, I begin by boiling the potatoes 🥔 for 15 minutes. I use Yukon Gold, although russet is a good substitute. Just before they’re done, I add a can of corn kernels and frozen peas. When the mixture comes back to a boil, I restart the timer.
When the cooking time is up, I throw some chopped baby spinach leaves 🍃 into the pot, and cook for just 1 minute. Kale is another option. I drain the water, roughly mash the ingredients, add some butter, mash again, and then add the seasonings.
This is where I differ from their traditional recipe…
Instead of using plain salt 🧂, I use garlic salt! Adding a little gives a subtle dimension to the starchy dish. Another ingredient that is totally not Kenyan is green onions. They provide a nice flavor, cut through the heaviness of the mash, and make the side visually more appealing.
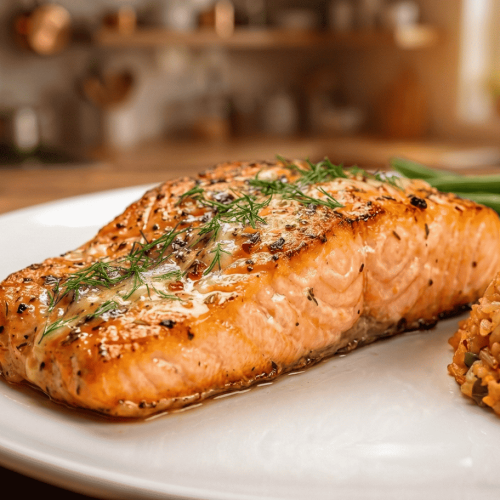
This Irio aka Mukimo is a delicious Kenyan staple recipe! It’s a satisfying comfort food that pairs so well with grilled meat, fish 🐟, or even stews. This nutritious side dish is definitely a delightful change from your everyday mashed potatoes!
Bon Appétit! 🍽
Here are several more African-inspired recipes for you to enjoy… 😀
– West African Peanut Stew • Maafe
– Bobotie
– Jollof Rice
– Peri Peri Chicken
– Moroccan Zaalouk
– Bunny Chow
– Moroccan Kefta Tajine
– Hawawshi
– Ethiopian Red Pepper Sauce
and for even more African recipes 🌍, click on this link… Recipe Category • African Cuisine
For ingredient amounts, directions, and much more, visit ➡
Don’t forget to subscribe to our YouTube channel 📽 by clicking on this link… Club Foody YouTube